In order to set up Umbraco you need to Visual Studio. If you have not installed already download and install Visual Studio Community Edition. It's free.
Lets get into work.
Step 01
Open Visual Studio and Create a New ASP .NET Web Application. Make sure you select the Framework as .NET Framework 4.7.2. This is latest framework version is supporting right now in July 2019 for Umbraco 8. Give any name as you wish for the Project name. In my case I'm naming it as MyWebiste.

Step 02
Select the Template as Empty, because we don't need anything, even authentication.

Step 03
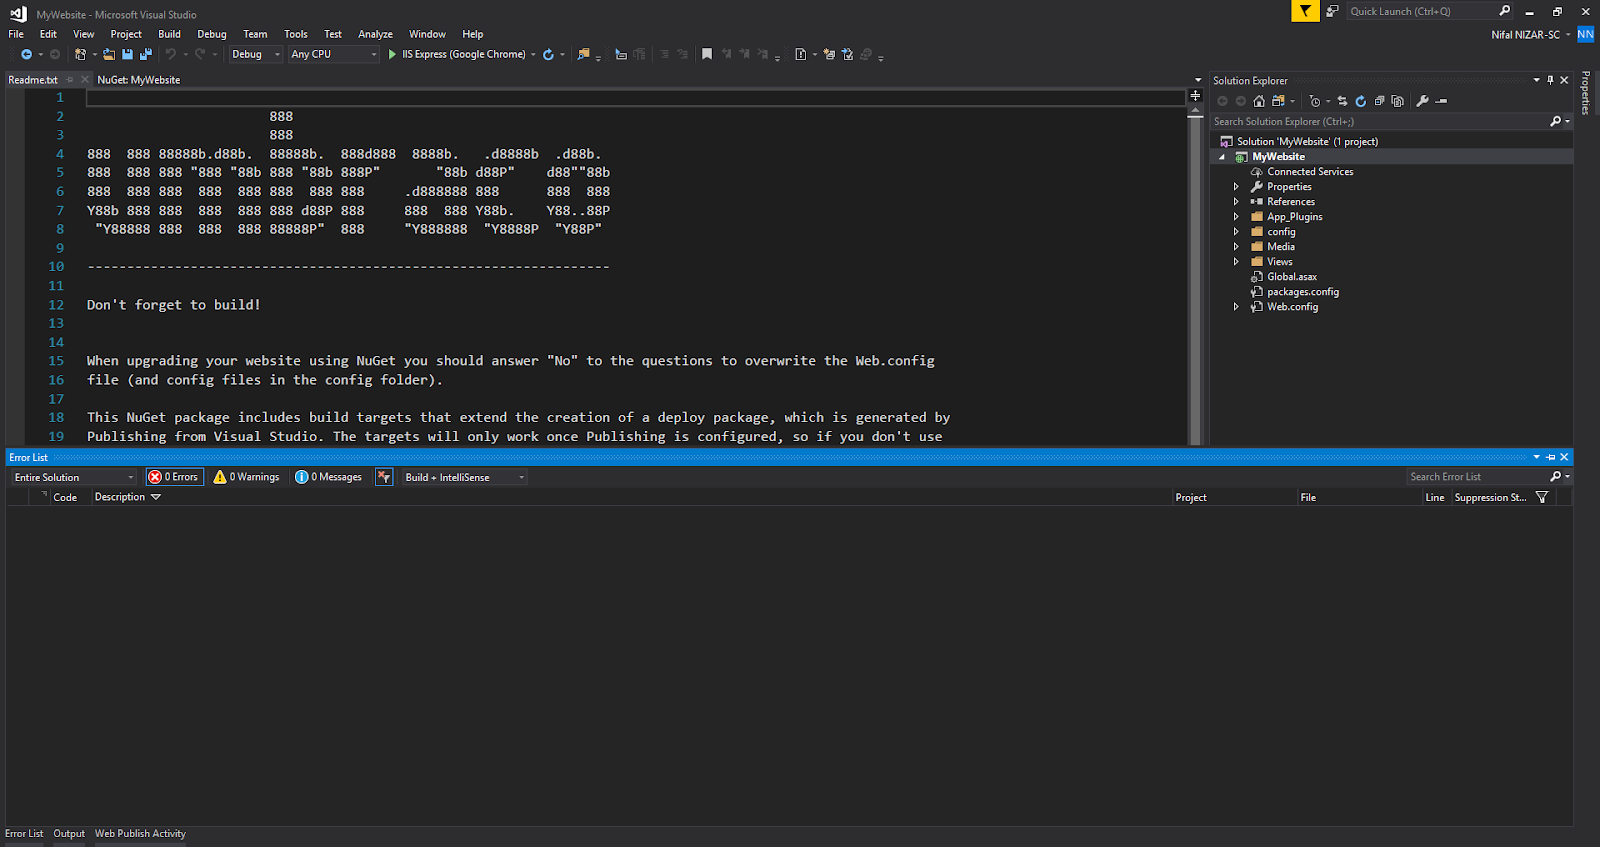
Right click the project file and click on the Manage NuGet Packages option. You will prompt to below screen. type "UmbracoCms" in the Browse section and click the install button.

Step 04
You will get the below prompt and ask to Accept the license. Click on I Accept as we want to install these packages.

Step 05
It will take sometime to install the umbraco cms to our project. If all went well you will get the below screen with success message.
Now click on the run button on the visual studio. Then you will get the below prompt asking the Debugging mode or not. Initially we don't need any debugging because we are not planing to do so. Press OK. then you will get the Umbraco Set Up page in browser.

Step 07
Fill these details as you wish. Then click Customize button. We need to customize few things.

Step 08
Next is you will get below screen. Click on "I don't want a custom Machine Key".

Step 09
Click continue. In my case I'm not going to point to any external database. It's going to SQL Server Compact by default.

Step 10
After that you will get below screen. Click "No Thanks ..."

Step 11
Now give the Email and Password, which you gave in the first page.

Step 12
Now Everything is okay. Your Umbraco CMS is ready to use.

Hope everything went well. Check my next article adding content pickers.


No comments:
Post a Comment